

The contract decides the crew job, carried space, and retreat trigger.
The Mound Contracts & Loadouts
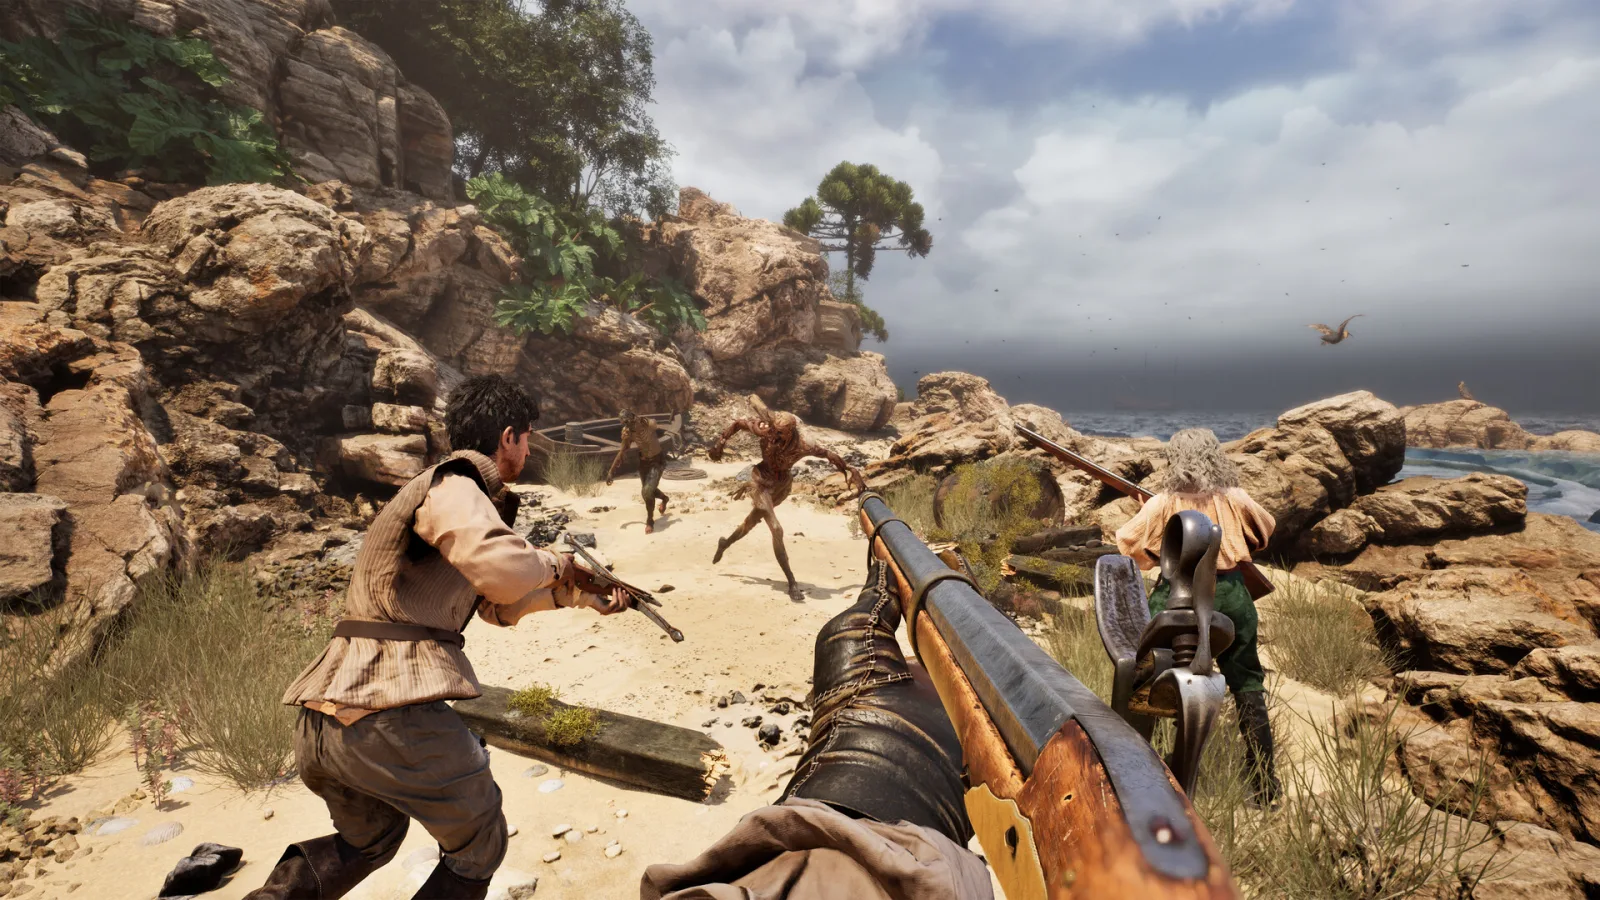
Contract, six-slot loadout, weather, crew, and return planner
The Mound Contracts & Expedition Loadouts
Choose the Captain Contract first, assign the crew jobs, keep two of six personal slots flexible, bring rain-safe coverage, and protect the Ox-wagon return route. Use the separate field database when the question is a named item, Saint, threat, or storage system.
Protect room for the objective, treasure, or emergency equipment.
Do not let Matchlock dependence remove the whole ranged plan.
Keep storage, survivors, light, and recovery connected to the crew.
5 contract plansCore answers remain visible without JavaScript
Recover treasure
Find the target haul and return it to the galleon.
- Carry plan
- Keep two inventory slots open and move valuable pieces to the Ox-wagon when possible.
- Weather answer
- Favor Bow, Crossbow, or Flintlock coverage when rain can disable Matchlock weapons.
- Crew job
- One carrier, one route holder, and rear cover for the moving treasure.
- Return trigger
- The target haul is secured or the Wagon route becomes unsafe.
Retrieve a cylinder
Locate the contract object and preserve a clean return route.
- Carry plan
- Do not fill all six slots before the objective item is found.
- Weather answer
- Carry at least one weapon that still works in rain.
- Crew job
- Route caller stays free to guide the objective carrier.
- Return trigger
- Cylinder secured plus a viable Wagon or galleon route.
Purge corruption
Reach and clear the named corruption objective.
- Carry plan
- Prioritize combat, light, food, and recovery over early treasure.
- Weather answer
- Do not let the whole squad depend on Matchlock fire in uncertain weather.
- Crew job
- Frontline holds space while another player protects recovery and direction.
- Return trigger
- Recovery is spent, madness cannot be cross-checked, or the route home is breaking.
Exploration
Map landmarks, forts, and safe links without turning the run into an unplanned treasure push.
- Carry plan
- Use the default six-slot plan and preserve empty space for a critical find.
- Weather answer
- Quiet, all-weather weapons reduce noise and weather surprises.
- Crew job
- Navigator names a landmark chain; verifier checks route and hallucinations.
- Return trigger
- Two anchors are lost or the group cannot agree on the current route.
Special descent
Prepare for a deeper objective where retreat options narrow.
- Carry plan
- Recovery, light, food, and role coverage take priority over spare loot.
- Weather answer
- Use mixed weapon ignition so one weather change does not remove all ranged options.
- Crew job
- Two buddy pairs: objective/recovery and route/rear watch.
- Return trigger
- A pair breaks, a critical role falls, or the agreed recovery reserve is gone.
No matching contract plan
Try treasure, cylinder, corruption, exploration, descent, rain, crew, or return.
Field handoff
Look up each entity type on its own page
The expedition planner owns the contract and return protocol. The database pages own item slots, Patron Saint blessings, and threat responses without mixing unrelated rows.
Contract-first reasoning
Spend the six slots on the job that can actually fail
A loadout is not a universal best list. The contract, party shape, weather pressure, and return plan decide which slot is protected and which slot can stay flexible.
Treasure, cylinder, corruption, exploration, or descent changes what must reach the Ox-wagon. If the objective is unclear, keep the run short and reserve space for the first confirmed find.
Choose the item or Saint that covers the failure most likely to stop the objective: rain, sanity, ammunition, contact, light, or recovery. Do not spend a slot on a second answer before the first route is safe.
Keep room for the objective item, a field replacement, or a recovery response. A full six-slot plan can make a successful discovery impossible to carry home.
Choose the landmark, Horn call, and retreat trigger before the squad is tempted by a deeper room. The return plan is part of the loadout, not a decision made after the haul is already at risk.
| Run pressure | Protect first | Keep flexible |
|---|---|---|
| Rain or ranged pressure | Weather-safe weapon coverage | One slot for the contract item |
| Corruption or sanity uncertainty | Second-view and recovery protocol | One slot for a changed route |
| Treasure haul | Carry space and Ox-wagon return | One emergency response |
| Solo descent | Self-rescue and a readable landmark chain | Short objective scope |
Party-size branches
Change the communication contract before changing equipment
The same item can solve different problems depending on who can verify a cue, carry the objective, or hold the return path.
Use one visible anchor, one short objective, and a self-rescue answer. Stop when a cue cannot be verified from the current position.
Split lead and verifier. The verifier protects the last shared landmark while the lead checks the uncertain cue; never send both toward the same distortion.
Give one player route memory, one player field response, and one player objective ownership. Rotate only at a confirmed landmark.
Use two buddy pairs with one caller. If a pair breaks, the first recovery action is contact and regroup—not a deeper push to rescue a missing voice.
After-action reset
Review the first broken agreement, not the entire build
When an expedition fails, preserve the evidence that still worked. A controlled retry tells the crew whether the problem was the contract, the route, the loadout, or communication.
| First break | Keep for the retest | Change next |
|---|---|---|
| Objective was never named | Same contract and short route | State the win condition before leaving the galleon |
| Weather removed the ranged plan | Same crew and landmark chain | Replace one slot with rain-safe coverage |
| Buddy pair separated | Same six-slot budget | Use a last-shared-landmark call and earlier regroup |
| Haul could not return | Same discovery route | Reserve carry space and trigger the Ox-wagon call earlier |
| Perception cue was trusted alone | Same contract objective | Add a second view before moving the whole squad |
Sanity recovery
Use a second view before trusting the cue
There is no simple visible sanity bar. Darkness, isolation, and hallucinations can damage the information the squad is using to navigate.
| Cue | Check | Safe response |
|---|---|---|
| False crewmate | Ask the real player to confirm position and action. | Do not follow the figure away from the buddy pair. |
| Poisoned comms | Repeat location, cue, and action through a second player. | Return to the last shared landmark. |
| Disguised terrain | Compare the path with the known landmark chain. | Stop before stepping into the disputed route. |
| Transformed equipment | Cross-check the item with a teammate or Wagon inventory. | Do not discard a critical item on one perception. |
| Phantom threat | Seek a second angle without moving the whole squad. | Keep one pair on the return anchor. |
Wagon call
Use the Horn on chosen ground
- 1
Stop at a defensible landmark.
- 2
Check that the contract route still needs storage or recovery.
- 3
Assign rear watch before the noisy call.
- 4
Move treasure or survivors quickly, then leave the noise site.
Known map order
Extend the landmark chain
- 1Landing Beaches
- 2Valdivian Forest
- 3Scarlet Flower Woods
- 4Abandoned Forts
- 5The Mound
- 6K'n-yan
Share this guide
Send the answer when another player hits the same blocker.
Share the current The Mound route, or copy the link for Discord and group chat.
Player questions
Contracts & Loadouts FAQ
Use the current game panel before spending rare resources on a value that can change.
What should I bring into an expedition?
Choose weapons and equipment around the run purpose, then pair that loadout with a retreat trigger and a route agreement. Check exact item behavior in the live version before committing the run.
What is the best team size?
The game supports up to four players. Two to four players gain the most from explicit roles; solo play benefits from the same stop-and-verify protocol.
How do you deal with the Prowler?
Do not treat it as a normal kill target. Stop moving deeper, return to the last shared landmark, restore contact, and reform the buddy pair so no player remains isolated.
How do we handle conflicting information?
Stop movement, give a location-cue-action call, and seek a second view before sending anyone forward alone.
When should the squad retreat?
Use the trigger chosen at the galleon: lost contact, broken pairs, depleted options, route uncertainty, or a haul that already satisfies the run.