

Use a forgiving frontline job while learning extraction pressure.
Mistfall Hunter Classes & Extraction
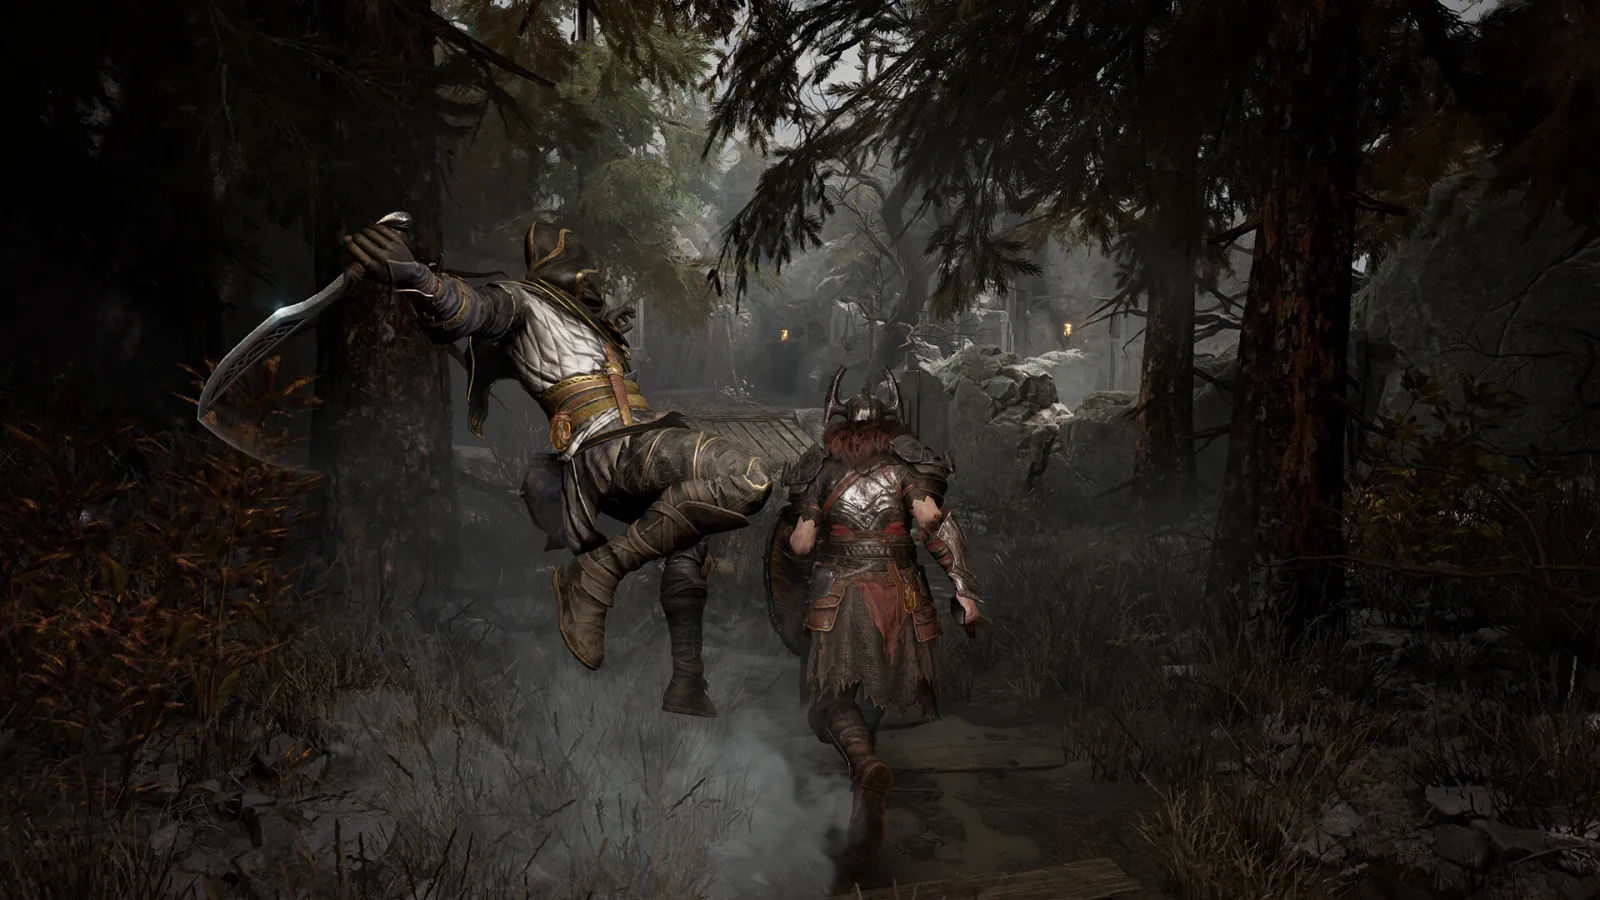
Six-class role database and extraction decision guide
Mistfall Hunter Classes & Extraction Guide
Choose the class that covers the missing job—frontline, range, control, recovery, scouting, or execute pressure—then use Brandrgarde Normal or Cataclysm Solo Mode as a controlled test only after shrinking the haul target and keeping a clear Returner Woodling route.
Keep one bad trade from ending the haul.
Extract when carried loot matters and the route is still open.
6 classesOne choice; no class name required
melee
Current versionMercenary
- Class job
- Frontline fighter. Hold space, absorb pressure, and create a safe opening or retreat lane.
- Weapon stances
- Sword & Shield / Hammer
- Choose when
- You want the clearest first class or need a build that can hold space while the squad learns the route.
- Avoid when
- The plan depends on long sightlines or fast backline picks more than stable frontline pressure.
- Common failure
- Chasing too far can leave ranged and recovery roles exposed.
- Safe first test
- Use replaceable gear and compare one block-and-counter exchange with one charged Hammer opening.
- Pair with
- Add ranged pressure or recovery so the frontline does not have to win every exchange alone.
ranged
Current versionBlackarrow
- Class job
- Ranged scout. Track threats, pressure weak points, and keep an open sightline before melee commits.
- Weapon stances
- Bow — Archer / Bow — Hunter
- Choose when
- You want route information, ranged pressure, or a solo-friendly way to decide when a target is safe to approach.
- Avoid when
- The route forces constant close contact and nobody else can hold a sightline or recovery window.
- Common failure
- Tight terrain or tunnel vision removes the range advantage and hides the exit route.
- Safe first test
- Repeat one target from the same range and compare the Archer and Hunter job before changing affixes.
- Pair with
- Add a frontline or control role that keeps targets visible and away from the escape line.
ranged
Current versionSorcerer
- Class job
- Magic damage and control. Control groups with elemental pressure and preserve space around the formation.
- Weapon stances
- Staff — Elemental / Staff — Stardust
- Choose when
- The squad needs group control and ranged PvE pressure more than another melee commit.
- Avoid when
- The squad cannot protect casting space or the route requires repeated close disengages.
- Common failure
- Spent control and poor spacing leave little margin when enemies reach the caster.
- Safe first test
- Test one Elemental control and one Stardust damage loop on a low-value route; use hit feedback rather than the Flameblade visual edge.
- Pair with
- Add a frontline or recovery role that can preserve distance after the first control cycle is spent.
melee
Current versionShadowstrix
- Class job
- Mobile assassin. Choose a favorable target, create burst pressure, and disengage before the squad is trapped.
- Weapon stances
- Dagger / Dual Blades
- Choose when
- You want mobile solo play or a PvP flank that can punish one exposed target and leave quickly.
- Avoid when
- The squad needs someone to hold a lane or recover teammates after a long exchange.
- Common failure
- An isolated dive turns mobility into the first lost squad member.
- Safe first test
- Enter one short fight with a named disengage point and stop if the return path disappears.
- Pair with
- Add control or frontline pressure that creates a real exit instead of asking the flank to escape through the enemy team.
hybrid
Current versionSeer
- Class job
- Support and recovery. Keep the formation recoverable and protect the disengage window.
- Weapon stances
- Catalyst — Support / Mace — Super Armor
- Choose when
- The squad can start fights but loses the haul after one bad trade, split, or failed rescue.
- Avoid when
- The group already has reliable recovery but cannot create damage, control, or a safe opening.
- Common failure
- Using movement or recovery only for personal safety can leave the group without a reset.
- Safe first test
- Compare one Catalyst recovery loop with one Mace pressure loop while reserving a team escape option.
- Pair with
- Add a class that can turn the protected reset window into pressure rather than extending a fight indefinitely.
melee
Current versionWithered Knight
- Class job
- Heavy fighter and execute pressure. Break guards, punish committed targets, and cover a decisive frontline exchange.
- Weapon stances
- Greatsword / Polearm & Shield
- Choose when
- The squad needs heavy punish pressure, a guarded rescue option, or a second frontline answer for committed targets.
- Avoid when
- The route demands constant repositioning and nobody else can supply scouting, control, or recovery.
- Common failure
- Slow heavy attacks fail when distance and counter timing are not controlled.
- Safe first test
- Test one Greatsword punish and one Polearm & Shield block-counter or rescue job before choosing the investment path.
- Pair with
- Add scouting or control so the heavy commit starts on a known target instead of guessing into open space.
No matching class
Reset the selector, then choose a supported need or one of the six current classes.
Class → modifier handoff
Start the affix lookup from the job you picked
The class selector answers the missing job; the affix database then shows the trigger and level facts for that job. This is a starting filter, not a claim that every class must use one tier.
MercenaryOffense affixesOpen the matching job filter →BlackarrowOffense affixesOpen the matching job filter →SorcererAbility affixesOpen the matching job filter →ShadowstrixMobility affixesOpen the matching job filter →SeerDefense affixesOpen the matching job filter →Withered KnightOffense affixesOpen the matching job filter →
Run call lookup
Choose what changed, then make the call
This is a direct situation lookup, not a hidden score. Pick the most important change and use the result before adding another objective.
One-step lookup Choose the change that matters most now.
The answer will show one call, the next action, and why the previous plan no longer fits.
Push one objective
- Do next
- Recheck after the next valuable item, spent cooldown set, or route change.
- Why
- Low carried value and intact options leave room for one named gain, but only until the first meaningful swing changes the trade.
Turn toward extraction
- Do next
- Take only the fight required to reach a Returner Woodling.
- Why
- The run already has bankable value, so reaching the return route is now part of the objective rather than an afterthought.
Extract
- Do next
- Convert the item into camp progress before testing another fight.
- Why
- Another optional encounter can turn a successful find into zero camp progress, while extraction preserves the next build decision.
Regroup then leave
- Do next
- Do not use a three-player risk budget with one role missing.
- Why
- A three-player plan no longer has three-player margin when one role, recovery option, or disengage lane is missing.
Run a short test
- Do next
- Change one variable and carry replaceable loot.
- Why
- Changing several variables with valuable gear makes it impossible to know what worked and expensive to learn what failed.
Stop adding objectives
- Do next
- Recover route information before seeking more value.
- Why
- More loot is not useful if the player or squad cannot describe how to convert it into camp progress.
Break contact
- Do next
- Use control or terrain to preserve the current haul.
- Why
- Low resources remove the margin needed to trade against another team and still reach extraction with the current value.
Reset assumptions
- Do next
- Verify extraction access, class behavior, and reward value before restoring the old route.
- Why
- A changed rule can invalidate the route, class behavior, or reward value that made the previous decision safe.
No supported run state
Reset the lookup and use the complete reference table below for the closest current situation.
Complete run-state reference
Use the current state, not a fixed greed rule
All eight answers remain visible without JavaScript and explain why the next action changes.
| Run state | Call | Do next | Why |
|---|---|---|---|
| Low haul, healthy build, clear objective | Push one objective | Recheck after the next valuable item, spent cooldown set, or route change. | Low carried value and intact options leave room for one named gain, but only until the first meaningful swing changes the trade. |
| Useful haul, known route, one recovery option left | Turn toward extraction | Take only the fight required to reach a Returner Woodling. | The run already has bankable value, so reaching the return route is now part of the objective rather than an afterthought. |
| High-value haul or key item found | Extract | Convert the item into camp progress before testing another fight. | Another optional encounter can turn a successful find into zero camp progress, while extraction preserves the next build decision. |
| Squad split or support depleted | Regroup then leave | Do not use a three-player risk budget with one role missing. | A three-player plan no longer has three-player margin when one role, recovery option, or disengage lane is missing. |
| New class, stance, talent, or gem affix | Run a short test | Change one variable and carry replaceable loot. | Changing several variables with valuable gear makes it impossible to know what worked and expensive to learn what failed. |
| Unknown Returner Woodling route | Stop adding objectives | Recover route information before seeking more value. | More loot is not useful if the player or squad cannot describe how to convert it into camp progress. |
| Rival pressure while resources are low | Break contact | Use control or terrain to preserve the current haul. | Low resources remove the margin needed to trade against another team and still reach extraction with the current value. |
| Season rule or balance patch changed | Reset assumptions | Verify extraction access, class behavior, and reward value before restoring the old route. | A changed rule can invalidate the route, class behavior, or reward value that made the previous decision safe. |
Squad composition
Cover engage, control, recovery, and route
Mercenary or Withered Knight creates the stable fight shape.
Blackarrow or Sorcerer punishes sightlines and groups.
Seer or a support-oriented Knight prevents one loss from becoming a wipe.
Any build can own navigation, but the job must be explicit.
Investment rule
Spend after the job repeats
- 1
Take a short run with replaceable gear.
- 2
Test one stance, talent, or gem-affix job.
- 3
Extract through a Returner Woodling.
- 4
Repeat before committing Gyldenblood and rare items.
Current known issues
Use the workaround before risking another haul
These faults can look like combat, extraction, or inventory mistakes. Use the safe action before repeating the same high-value step.
| Issue | What it changes | Safe action |
|---|---|---|
| Sorcerer Flameblade range | The visual effect does not match the actual damage range. | Use hit confirmation and enemy response, not the outer visual edge, before committing the next cast. |
| Soul Tree Extraction Point | Repeatedly entering and leaving the area while summoning can consume an extra Soul of Return. | Stay in the area until the summon resolves and check the Soul of Return count before repeating the interaction. |
| Console reconnect | Some console matches may fail to reconnect after a disconnection. | Run one low-value reconnect test early; if the session is unstable, extract before the squad carries a valuable haul. |
| Controller Gear and Auction House input | Controller users may be unable to unequip gear, and some Auction House gem slots ignore the directional pad. | On PC, switch to mouse and keyboard for the action. Otherwise use the joystick where supported and verify the selected item and price before confirming. |
Share this guide
Send the answer when another player hits the same blocker.
Share the current Mistfall Hunter route, or copy the link for Discord and group chat.
Player questions
Classes & Extraction FAQ
Use the current game panel before spending rare resources on a value that can change.
When should I extract in Mistfall Hunter?
Extract when the current haul matters, the route is still available, and another fight adds more loss risk than objective value.
Is solo play viable?
Solo entry is confirmed. Use shorter objectives until the build has a reliable way to engage, recover, and disengage.
How many players are in a squad?
Mistfall Hunter supports three-player squads.
What class is best?
A final ranking needs live balance data. Start with the class and stance that cover the job your solo route or squad is currently missing.
How should I test a new stance or gem affix?
Take a short, low-value run and test one job at a time. Keep an extraction margin, change one variable, and spend rarer resources only after the result repeats.