

Follow Resource Zone → Processor → Depot → Courier → Shop before changing several assignments at once.
Go-Go Town Game Home
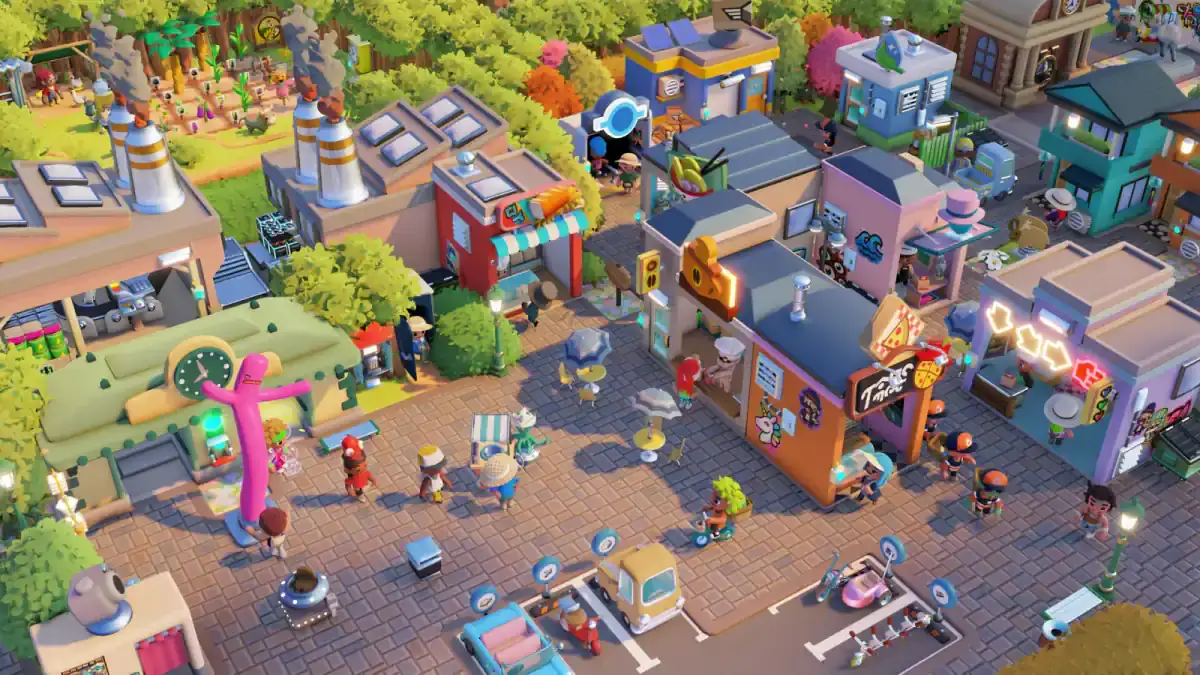
Full release · July 16, 2026 Last updated
Go-Go Town! Guide
Trace one complete supply chain before rebuilding: Resource Zone to Processor, Depot, Courier, and Shop. Fix the first empty or blocked handoff, then expand only after the original district survives a busy period without manual rescue.
Town field notes
Read Go-Go Town as a chain of handoffs
The town rarely fails because one building is missing. It fails when a resource, worker, crate, or road stops handing the right thing to the next station. This Hub is the quickest place to name that break before buying more land.
An idle Townie can be a distance, full-crate, housing, or road problem; check the repeated trip rather than the job label alone.
Expansion is ready only when the first street survives a busy period without manual rescue or a fragile single shop loop.
Revisit signal: Return here when a new district makes an old shop, Courier, or maintenance route quietly unreliable.
Read the town loop
Arrival, supply, and expansion pressure
Official in-game scenes are tied to the bottleneck finder: keep the first district readable before adding distance or decoration.
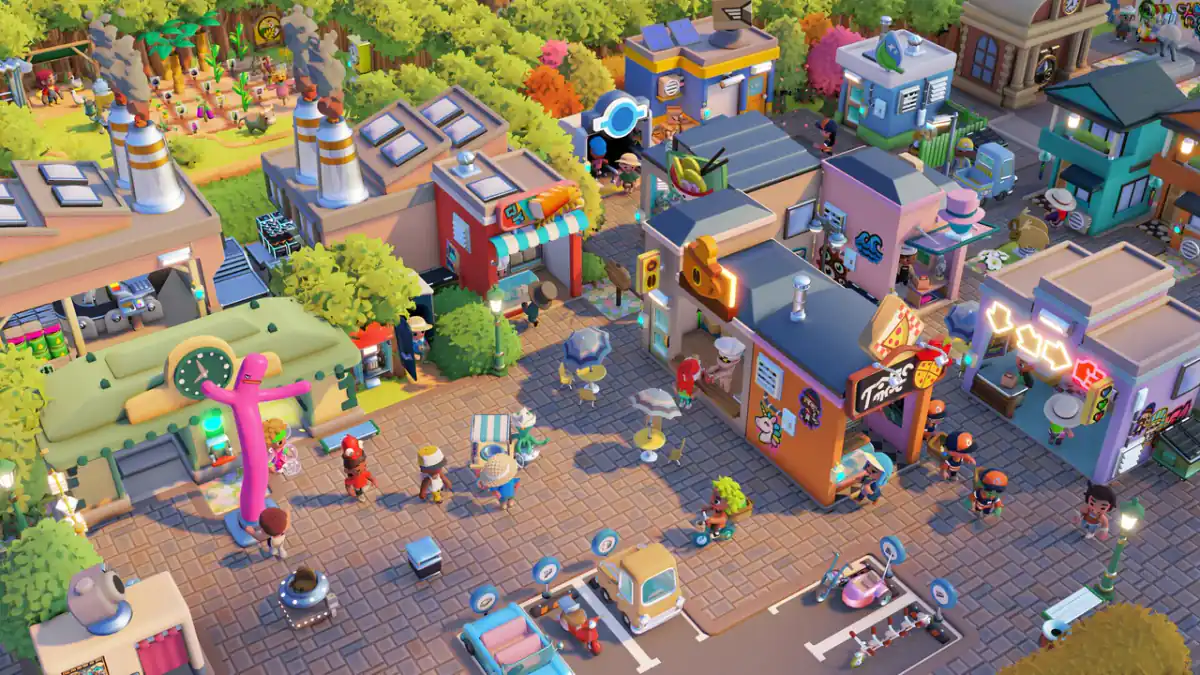
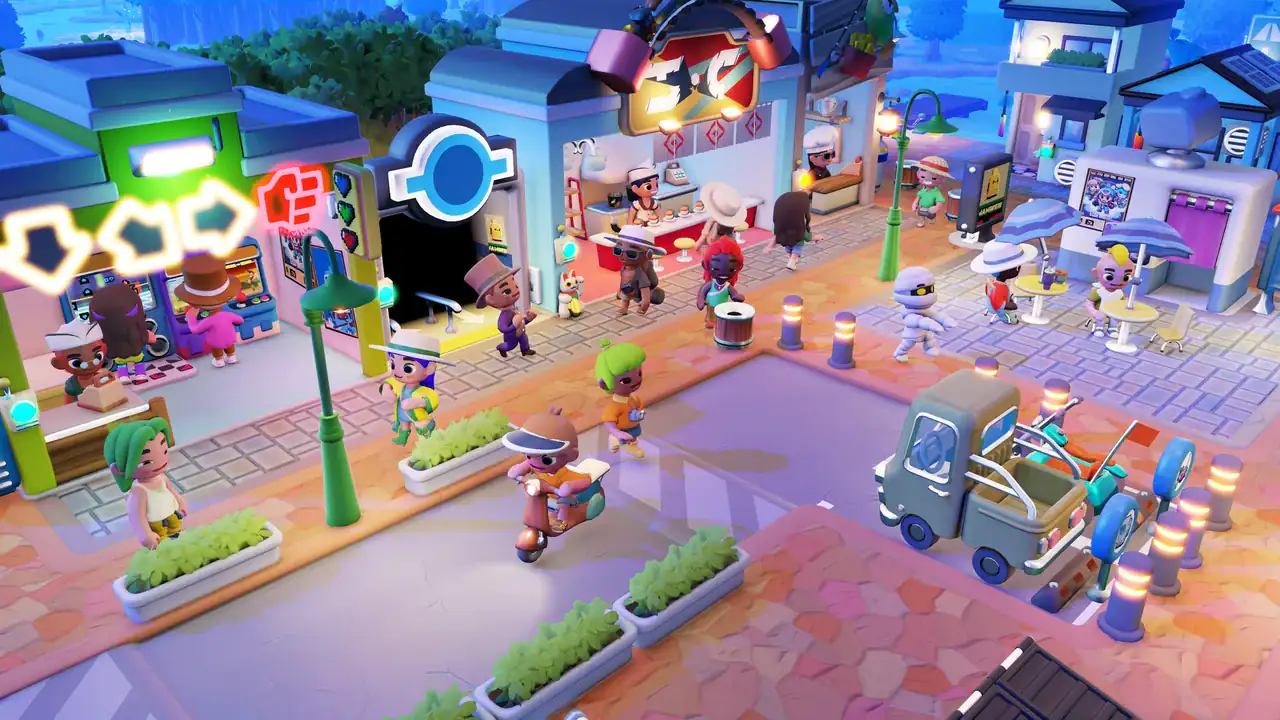
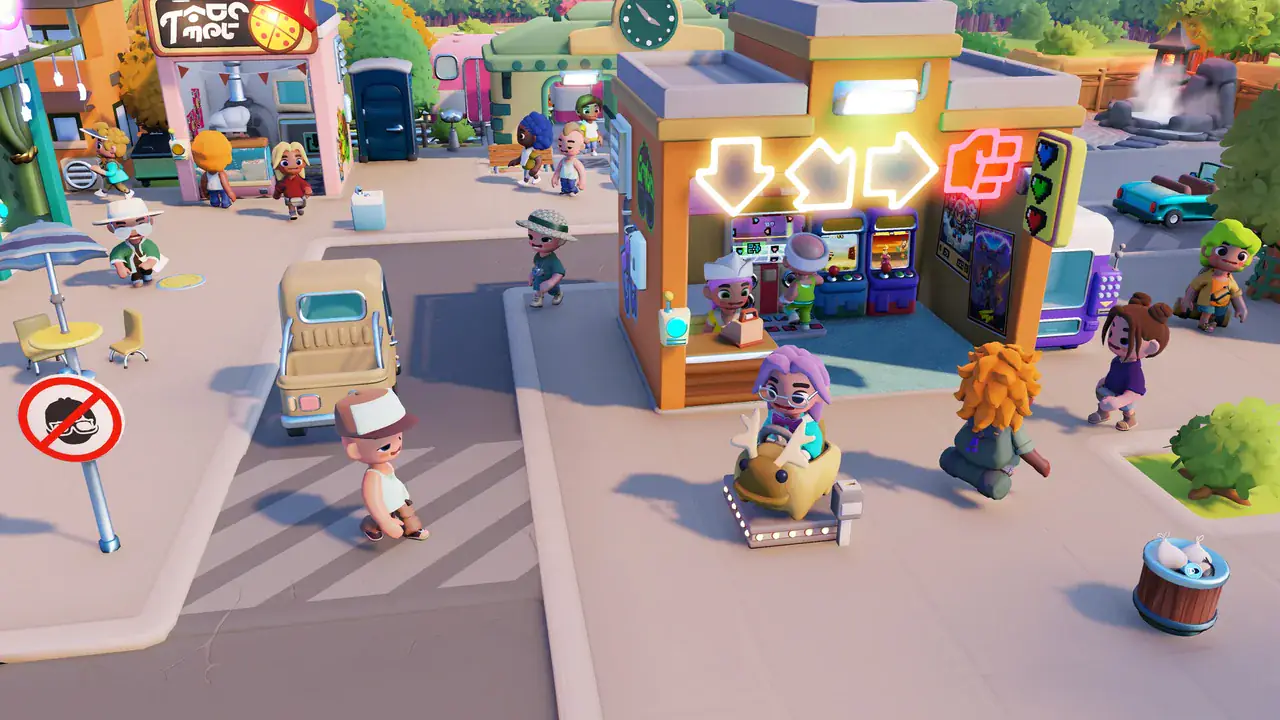
Town data desk
Use each record where the town problem begins
This Hub does not pretend to be a full building catalogue. It connects the useful current records—visitor pressure, Rank, resources, delivery, controls, co-op, recipes, and return checks—to the player decision they support.
| Reference | Current scope | Question it answers | Use next |
|---|---|---|---|
| Visitor desires | 6 signals | Which visitor pressure should the next district solve? | Choose one response, then prove the route. |
| Town Rank | 4 pressure types | What does the phone challenge actually require? | Read the named requirement before buying land. |
| Bottlenecks | 13 failure states | Where does an empty shop or idle worker first break? | Trace source → handoff → destination. |
| Resources | 4 route stages | Is the missing item raw, processed, stored, or delivered? | Inspect the first missing stage instead of adding capacity. |
| Couriers | 3 checks | Why is a delivery vehicle moving no useful stock? | Check both crates, road access, and one full cycle. |
| Controls | 8 bindings | Which PC or controller action is blocking the test? | Verify the prompt in an empty area before changing the town. |
| Co-op roles | 2 permission views | Who can edit an expensive or irreversible system? | Give one player ownership of the current diagnosis. |
| Recipe stages | 4 handoffs | Which production stage owns the shortage? | Follow one item from raw input to sale. |
| Fishing props | 4 route jobs | Which fishing prop matches the next ingredient or production job? | Name the downstream job, then prove one complete catch or batch. |
| 1.0 return checks | 4 recovery points | What should an Early Access returner verify first? | Protect the old save and compare one stable loop. |
Town triage
Start with the symptom you can see
The detailed finder traces the hidden system behind an empty shop, idle worker, stuck Courier, trash pile, or failed expansion.
Shop empty or processor starved
Trace one good from the Resource Zone through processing, storage, delivery, and the shop crate.
Courier or Townie idle
Check assignments, full crates, road access, and the distance between home, job, source, and destination.
Expansion made everything worse
Find the Depot, Courier, worker, or Maintenance route stretched across both districts.
System lookup
Open the system that owns the answer
Which named requirement is blocking the next unlock?
Is the home-to-job route shorter than the work cycle?
Does the painted zone actually cover live nodes?
Is input missing, output blocked, or processing too slow?
Are both endpoints assigned, reachable, and able to accept stock?
Which operating asset sits outside practical coverage?
Working chain
Build the supply loop in this order
- 1
Draw a Resource Zone over valid Wood, Ore, Crop, or Fish nodes.
- 2
Keep the Processor input and output crates reachable.
- 3
Use a Depot as the stable handoff between production and sales.
- 4
Assign the Courier to the exact source and destination crates.
- 5
Watch one full delivery before increasing shop demand.
Expansion gate
Do not buy distant land until the first district can survive it
Cave, Desert, and other remote areas increase delivery and maintenance distance. The phone or boundary panel shows the actual Coin, Rank, and EGO requirement.
| Gate | Ready when | If it fails |
|---|---|---|
| Rank | The current phone challenge is complete. | Finish the named requirement instead of adding unrelated buildings. |
| Logistics | Resource Zone → Processor → Depot → Courier → Shop completes without rescue. | Repair the first blocked link. |
| Maintenance | The new area can receive cleanup and repair coverage. | Delay the boundary purchase or place a closer service point. |
| Staffing | Townies have practical homes and jobs in each district. | Shorten the repeated commute before adding another role. |
| Coins | The old commercial street remains stocked through a rush. | Do not use one fragile shop loop to fund two districts. |
Pressure map
Turn one visible complaint into one measurable town test
Go-Go Town rewards a short feedback loop. Pick the pressure the phone names, change the smallest supporting system, and watch the same route through one busy period before scaling.
| Visible pressure | First test | Proof that it worked | Next link |
|---|---|---|---|
| Hungry visitors | Trace one ingredient from source to a stocked food counter. | The same route restocks after a rush. | Hunger planner |
| Idle Courier | Check assignment, crate state, road access, and endpoint distance. | One delivery completes without manual rescue. | Courier finder |
| Low cleanliness | Follow the affected street to the first unreachable waste or service handoff. | The same street stays clear through a full cycle. | Cleanliness route |
| Flat Town Rank | Read the phone challenge and build only its matching response. | The named challenge advances without unrelated expansion. | Rank planner |
| Expansion collapse | Return to the first district and compare source, worker, maintenance, and Coin baselines. | The original street survives before the remote route is reopened. | Recovery finder |
Player questions
Go-Go Town! FAQ
Answers reflect the current status and check date shown on this hub.
What should I do first in Go-Go Town?
Create one compact loop that connects arrival, shops, workers, and stock. Let it run long enough to reveal the first repeated trip before you open a second district.
Is Go-Go Town better solo or in co-op?
Solo is easier for learning cause and effect. Co-op is faster when players split responsibilities and agree on who owns roads, staffing, supply, and visitor flow.
When should I automate logistics?
Automate a trip after you have seen it repeat and confirmed the route is sensible. Automating a bad route makes the problem more consistent, not better.
Why do my shops keep running out of stock?
Check the entire supply path: source, pickup, travel distance, delivery, and the worker assigned to the job. Fix the longest or most interrupted leg first.
When is my town ready for a second district?
Expand after the first visitor, worker, and stock loop survives a busy period without repeated manual rescues. Add one road, shop group, or service pressure at a time so you can still identify what changed.